Before wet season
Plan overflow and yard runoff around a lined pond
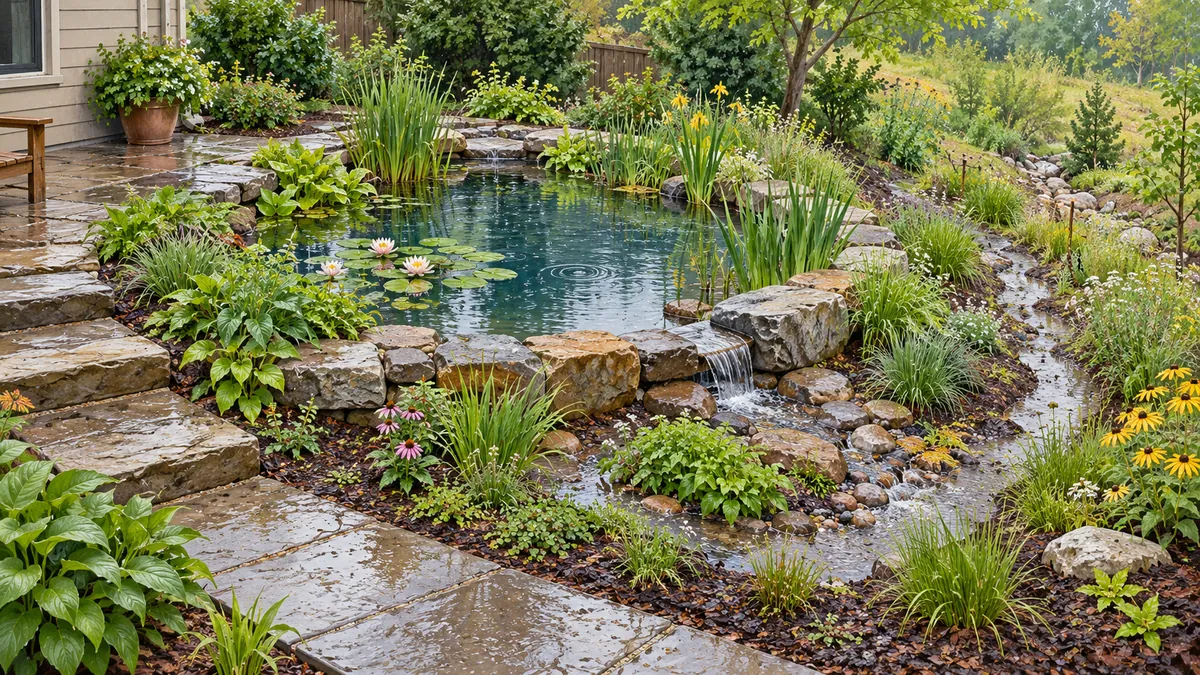
Map the route water takes when the pond is full, including what it crosses and what could block it during a storm. The worksheet covers lined ornamental ponds; pipe capacity, site grades and discharge requirements need local review. Earthen dam ponds have separate spillway requirements.
Three overflow routes from real builds
These are single projects from the TEAM Aquascape channel. Use them as examples of what to think through, not as specifications.
- On a pond expansion, the grades run away from the pond to an overflow feeding a dry stream and a swale. Otherwise the water would reach the yard and then the street (TEAM Aquascape, pond expansion).
- In a double waterfall build, an elbow with its corner at a transit-found water line feeds a bulkhead and a 2 inch line that drains away, keeping rain events from the house. That size is specific to the job (TEAM Aquascape, double waterfall part 2).
- A first-flush downspout feeding a small reservoir was expected to overwhelm it, so that job used a dry stream bed to carry the excess (TEAM Aquascape, bird stream).
Worksheet: record levels before you dig
Aquascape describes planning site levels and equipment access before excavation (Aquascape excavation article). Add the overflow points below to that same set of readings. Every reading is in inches relative to the planned water line, which is 0. The readings shown are illustrative only.
| Point | How to get it | Illustrative reading |
|---|---|---|
| Planned water line | Transit or other level, from one fixed reference | 0 in |
| Overflow fitting inlet | Set at the planned water line | 0 in |
| Lowest point of the pond rim | Check every side, not only the overflow side | +3 in, house side |
| Nearest house opening or foundation edge | Same reference | -10 in |
| Discharge outlet | Same reference, plus pipe run length | -18 in, 30 ft run |
| Highest level the receiving swale or drain has reached | Watch it after rain and ask whoever manages it | -30 in |
Reading the worksheet
- Blocked-overflow path. If the overflow clogs, water leaves at the lowest rim point. Here that is +3 in on the house side, and the house opening sits at -10 in, so water could threaten the house if the intervening grade carries it that way. Walk and measure the complete route. In this example, change the grading or rim before building so the lowest point faces a safe path.
- Fall. The drop from inlet to outlet is 0 - (-18) = 18 in over 30 ft, which is 0.6 in per ft, or 5 percent. This shows the fall exists. It is not a recommended slope. If the fall is missing, the discharge point has to move.
- Backflow. The outlet at -18 in is 12 in above the highest receiving level of -30 in, because -18 - (-30) = 12. A receiving level above the outlet can submerge the discharge and reduce capacity. Whether it drives water into the pond depends on the relative water levels and connection; have that condition checked.
Count the water the pond receives
Use a rough inflow count to see what the overflow must pass. The inputs here are illustrative: a 12 ft by 10 ft pond surface, 600 sq ft of roof draining into it, and rain at 1 in per hour. One cubic foot is about 7.48 gal.
| Source | Area | Volume | Gallons |
|---|---|---|---|
| Pond surface | 120 sq ft | 10 cu ft | 74.8 gal |
| Roof | 600 sq ft | 50 cu ft | 374 gal |
| Total | 720 sq ft | 60 cu ft | 448.8 gal |
Spread over one hour, 60 cu ft is 1 cu ft per minute, or 7.48 gal per minute on average. Real storms peak above their hourly average, so use local rainfall data for the design rain. Compare the result with the overflow capacity published by the fitting maker or given by a qualified designer.
If the overflow were blocked and the walls were vertical, the level would rise (120 + 600) / 120 = 6 in for that 1 in of rain. That is more than the +3 in rim in the worksheet, so the rim would spill. This illustration assumes constant surface area and counts all roof water as inflow. It is not a sizing rule or a recommendation to connect a downspout.
Keep uncounted runoff out
Aquascape cautions against placing a pond where outside runoff collects (Aquascape design article). EPA notes that runoff from roofs and paved areas can carry pollutants and nutrients (US EPA stormwater page). A lined ornamental pond is not automatically a stormwater treatment facility, so do not rely on it to clean that water.
A downspout you connect on purpose is a designed inflow, and it belongs in the table above. Water sheeting across the lawn from a neighbor, a driveway or a street is uncounted inflow. Walk the site during or just after rain and mark where it arrives, then move the pond or divert that water before settling the overflow.
Sequence
- Walk the site in rain. Mark where water enters from other properties and paved surfaces, and where it leaves.
- For US sites, contact your state 811 center before digging, follow its waiting instructions, and confirm utility responses. Marks show approximate locations (Common Ground Alliance). Include the discharge trench or pipe run in that request, because it is digging too.
- Take levels and fill the worksheet, including the lowest rim point and the highest receiving level.
- Choose the intended route, then the blocked-overflow route. The intended route should be the one water takes first.
- Ask the local authority whether pond water may go to your chosen discharge point, such as a street, storm drain or neighbor's land. This article does not establish any rule.
- Run the inflow count and compare it with published overflow capacity. If you cannot confirm capacity, ask a qualified local designer.
- Test the route with water where practical before final landscaping, and watch it again in the first heavy rain.
To lay out the pond with depths you have measured, use Studio. It shows geometry you create from entered scale and depths and does not read grades from a photo. The volume calculator gives pond volume for the rest of your planning.
Sources
- POND EXPANSION - 4-Foot Deep Rec Pond - REVEAL (TEAM Aquascape)
- BETTER Than A Bridge? - Double Waterfall Pond Part 2 (TEAM Aquascape)
- IF YOU BUILD IT... THEY WILL COME! - Bird Loving Stream (TEAM Aquascape)
- How to Design a Dream Pond for Your Customer
- How to Excavate a Pond the Right Way
- Sources and Solutions: Stormwater, US EPA
- Before You Dig, Common Ground Alliance