Construction handover
New pond startup and handover checklist
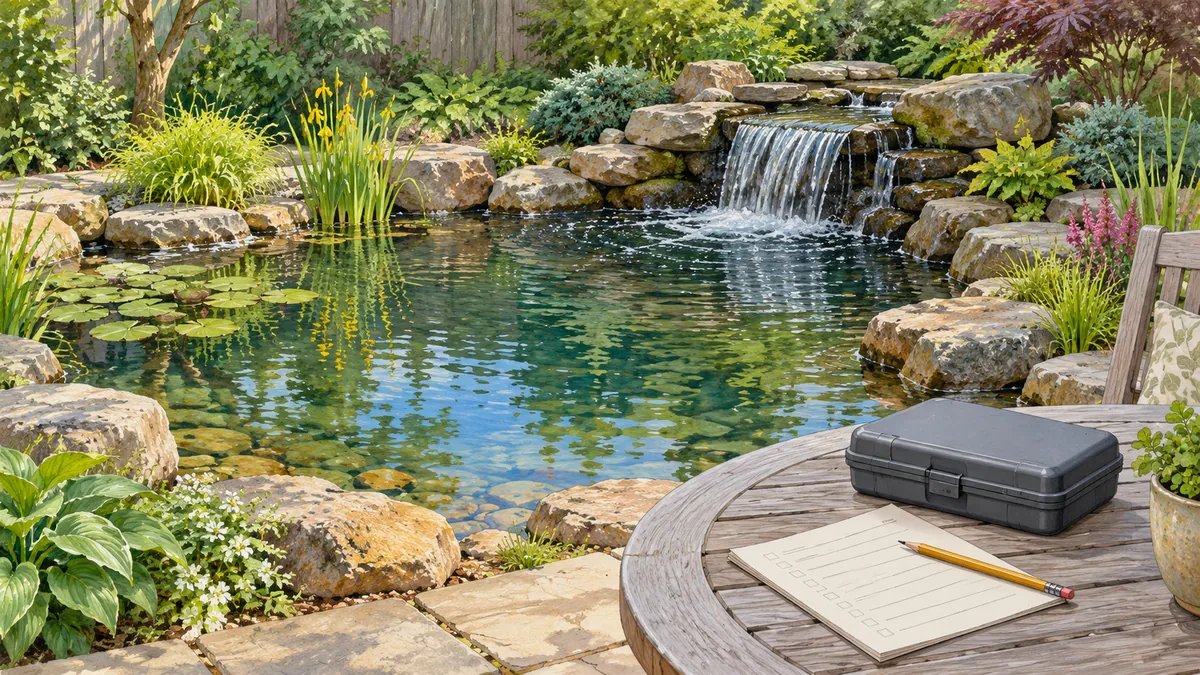
Use a dated startup record to confirm the fill level, pump operation, equipment settings and service access. Record biofilter maturity and readiness for fish separately; commissioning checks alone cannot establish either.
Keep commissioning and biological maturity apart
The Merck Veterinary Manual notes that a newly installed biofilter takes time to establish (Merck, environmental diseases). Clear, moving water alone is not proof of hydraulic acceptance or biological readiness. Track fish introduction on its own checklist with its own water testing. See new pond syndrome and ammonia for the separate water-quality assessment.
Fill water matters too. Merck lists chlorine and chloramine in municipal water as toxic to fish and filter bacteria, and calls for treatment matched to both (Merck, providing a home for fish). Write down which conditioner went into the fill and check that its label covers both. Dose and contact time come from that label, not from this checklist.
Startup sequence
- Clear the basin and plumbing path. On one finished stream, TEAM Aquascape rinsed everything down and pumped the dirty water out before the real startup (TEAM Aquascape video). That was a stream at the end of a build. For a pond, decide whether a flush fits your site and where the dirty water can go.
- Set a reference mark. Mark a fixed point at the intended water level before filling, and note fill start time, stop time and the water source.
- Decide about running pumps during the fill. On a converted swimming pool job with a water truck still due, TEAM Aquascape considered switching pumps on mid fill to see the flow from each urn (TEAM Aquascape video). That was one team's choice on that job. If you try it, check the pump manual for the minimum water level first.
- Start the system and watch each outlet. Record how each outlet looks, any dribbling, splashing past the edge and any damp ground nearby.
- Adjust, then log each change. TEAM Aquascape says to expect some waterfall tweaking after first switch on, after seeing a small dribbler on one side (TEAM Aquascape video). Write down what you moved and the setting you ended with.
- Trim liner last. The Aquascape pondless manual advises waiting to trim liner until the basin is filled and the waterfall is running (Aquascape manual). Check the manual for your own product.
- Take the first level reading, then a second after a set interval, and sign the sheet only after both are recorded.
Worked example: fill time and level log
These inputs are illustrative. Take a rectangular pond with straight sides, 3 m long, 2 m wide and 0.5 m of water depth.
- Volume: 3 m × 2 m × 0.5 m = 3 m³, which is 3,000 L.
- Assume a hose delivers 20 L/min. Measure yours with a bucket and a timer.
- Fill time: 3,000 L ÷ 20 L/min = 150 min, or 2.5 hours.
For other shapes, use the volume calculator. Surface area here is 3 m × 2 m = 6 m². A level change converts to litres by multiplying depth change by surface area. Sample entries:
| Entry | Reading against reference mark | Conversion |
|---|---|---|
| Fill complete, pumps off | 0 mm | Baseline |
| First startup, pumps running | 12 mm below | 0.012 m × 6 m² = 0.072 m³ = 72 L |
| Next morning, pumps running | 30 mm below | 0.030 m × 6 m² = 0.18 m³ = 180 L |
The change between the last two entries is 180 L minus 72 L, or 108 L. Treat that as a prompt to inspect, not a diagnosis. A pump-off level on its own does not identify the exact fault. If an autofill valve is installed, note it on the sheet, because it can change what level readings show.
If an outlet looks weaker than expected, the pump calculator is a place to recheck the head and flow figures you entered.
Handover record
| Item | What to write down | Why the next person needs it |
|---|---|---|
| Water and conditioner | Source, conditioner product, label coverage | Replacement water can be treated the same way |
| Reference level | Mark location and level log entries | Gives a baseline for later comparison |
| Pump and valve settings | Pump model, controller setting, valve positions | Settings can be restored after service |
| Outlet observations | Flow appearance at each outlet, tweaks made | Shows what finished looked like on day one |
| Service access | Where to reach the pump, filter, valves, shutoff and power disconnect | Avoids digging through rock or planting to service |
| Liner and edges | Whether trimming is done, any open edge items | Separates finished work from pending work |
| Open items | Punch list with owner and date | Makes the first service visit specific |
| Fish introduction | Marked as not signed off | Biological readiness is validated separately |
Follow-up visit
Book a short return visit and bring the sheet. Repeat the level reading with the pumps running, compare it with the log, look again at each outlet, and update the settings entries if anything was changed. Close out the punch list items one by one. Any fish plan starts from its own checklist, not from this sign-off.
Sources
- TEAM Aquascape video: NEW Curb Appeal, Out Front Water Feature
- TEAM Aquascape video: 3 Amazing WATER FEATURE Creations, Final Reveal
- TEAM Aquascape video: Little Garden POND Adds Charm to Backyard Space
- Pondless waterfall installation manual (Aquascape)
- Providing a Home for Fish, Merck Veterinary Manual
- Environmental Diseases of Aquatic Animals in Aquatic Systems, Merck Veterinary Manual