Stone placement
How to place boulders in a natural-looking pond
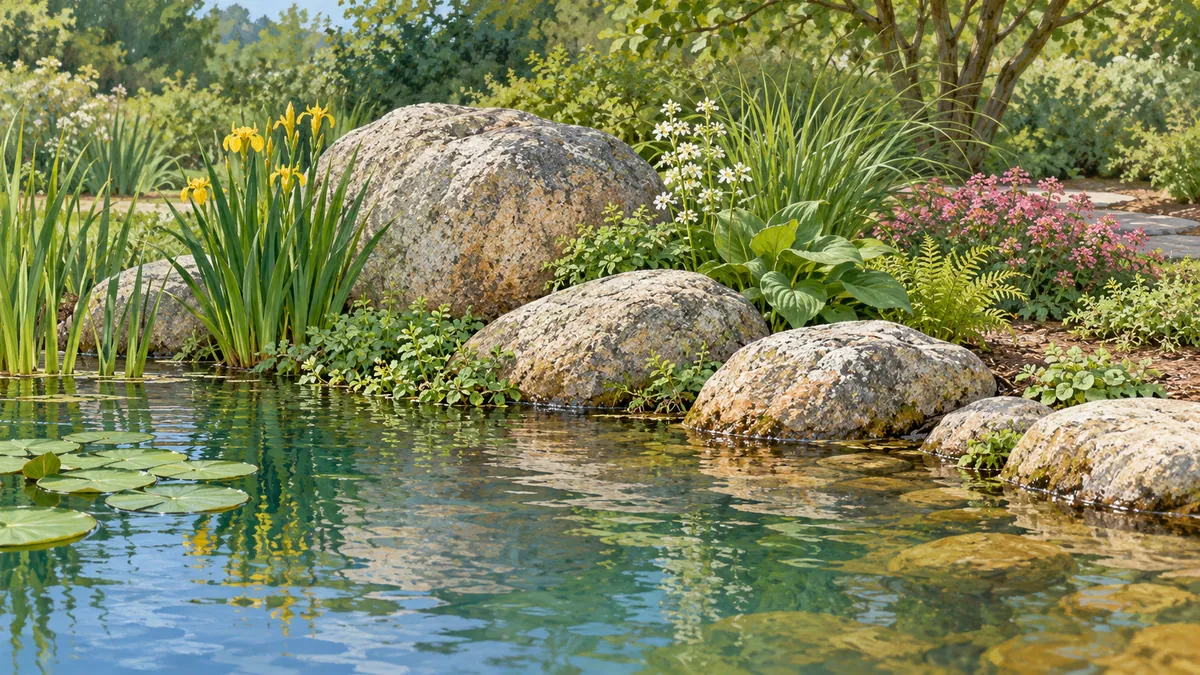
Choose the first stones for their shape and for the height they set for everything placed after them. Then vary stone size and gap width along every edge so no stretch repeats. Place the frame stone first, confirm stability and liner requirements with your installation system, and judge the result from the spots where people will actually look at the pond.
Read the stone shapes before placing anything
Lay out the whole inventory and make a sheet with one row per stone. Record the longest side in your unit of choice, the best face, whether the base sits flat, and any natural high spot. Then sort the stones into tall, flat, rounded and irregular. Stones with a strong face belong where people will see them. Plainer stones fill the spaces between.
On a pondless waterfall rehab, TEAM Aquascape looked for natural high spots on a granite spill stone and checked them with a level to see which way it would fall and send water (video). That was one piece in one waterfall. Use it as a way to read how a stone sits, not as a rule for edge stones.
Set the first frame or foundation stone
On a waterfall kit install, two TEAM Aquascape installers chose the first frame rock after the liner was in and before building began, weighing the surrounding elevation so the result was neither too high nor underwhelming (video). For your pond, treat that as a decision step:
- Pick two or three candidates by shape and size.
- Compare each candidate in a measured sketch or photograph before arranging placement.
- Step back and compare its top with the surrounding ground and with your sketch.
- Keep the one that gives the height and direction you want for the stones that follow.
Before building around it, confirm the stone sits securely on the prepared surface, following your liner and installation instructions (see the last section).
Mix sizes without a regular perimeter pattern
A crew on a TEAM Aquascape deck waterfall build varied rock size on the bottom shelf and the shelves above, so the edge would not look like evenly spaced beads (video). Aquascape's contractor article discusses varying stone sizes and breaking up uniform edging (article). That is appearance guidance. Stability is a separate check.
Worked exercise: same ten stones, two layouts
These inputs are illustrative, not a recommended ratio. Take a 480 cm run of edge and an inventory of ten stones, measured by visible width along the edge: 2 large at 80 cm, 3 medium at 45 cm and 5 small at 25 cm. Total visible width is 2 × 80 + 3 × 45 + 5 × 25 = 160 + 135 + 125 = 420 cm. That leaves 480 − 420 = 60 cm of gaps.
| Layout | Arrangement | Gaps | Visual result |
|---|---|---|---|
| Before | Ten stones in one line, sorted by size | 10 gaps of 60 ÷ 10 = 6 cm each | A continuous, even band |
| After | Four clusters: large + 2 small (130 cm), 2 medium (90 cm), large + small (105 cm), medium + 2 small (95 cm) | 4 gaps of 5, 10, 15 and 30 cm, total 60 cm | Uneven masses with room for planting or gravel |
The clusters add up to 130 + 90 + 105 + 95 = 420 cm, so no stone was added or removed. Visible width is only one measure. Height, depth and how stones overlap also matter, and no single size ratio makes a layout stable.
Connect the water edge to the surrounding landscape
Walk the area around the pond before finalizing the layout and note where the ground already rises, falls or carries plants. Let stone groups follow those lines instead of stopping at the water. Use the largest stones where the existing slope suggests a natural high point, and leave some edge with little or no stone so the bank, plants or gravel carry the transition. A pond ringed by stone with lawn butting up to it reads as a fence line.
If you plan layouts in Studio, you enter the pond geometry, scale and depths yourself, and it shows what you created. It does not rebuild a layout from a photo, so measure the site first.
Review the result from the planned viewing positions
Name two or three places where people will sit or stand, such as a patio seat, a path or a window. Stand at each one, ideally with a photo, and run this check:
- Do three or more similar stones repeat in a row?
- Do the best faces point toward the viewer rather than the pond?
- Does one stone dominate from every position, or does the eye move?
- Do the stone tops follow the surrounding grade?
Adjust one stone at a time and look again.
Placement sequence
- Complete the inventory sheet and sort the stones.
- Confirm liner protection and stability requirements with your installation system.
- Choose and set the frame stone using the candidate comparison above.
- Place the other large stones next, at different spacing.
- Fill in with medium and small stones as clusters, keeping gap widths unequal.
- Tie the edge to the landscape with plants, gravel or bank shaping.
- Review from each viewing position and make small changes.
Stability and liner limits
Published instructions for PondGard EPDM cover a prepared support surface, geotextile choice, tension-free panels and approved seaming materials (Elevate guide). They apply to that product only, so read the instructions for your own liner before setting stone against it. This article does not cover lifting or moving heavy stone. Use your site's safe procedures and equipment for that.
Sources
- A *WATERFALL* and Stream Underneath a DECK! (TEAM Aquascape)
- How to Install a DIY WATERFALL KIT - Part 1 (TEAM Aquascape)
- *PONDLESS WATERFALL* Rehab and Foaming Tips - Part 2 (TEAM Aquascape)
- How to Naturalize Your Water Features Like an Artist
- PondGard EPDM Design and Installation Guide, July 2025, Elevate