Job planning
Plan site access and material staging for a pond build
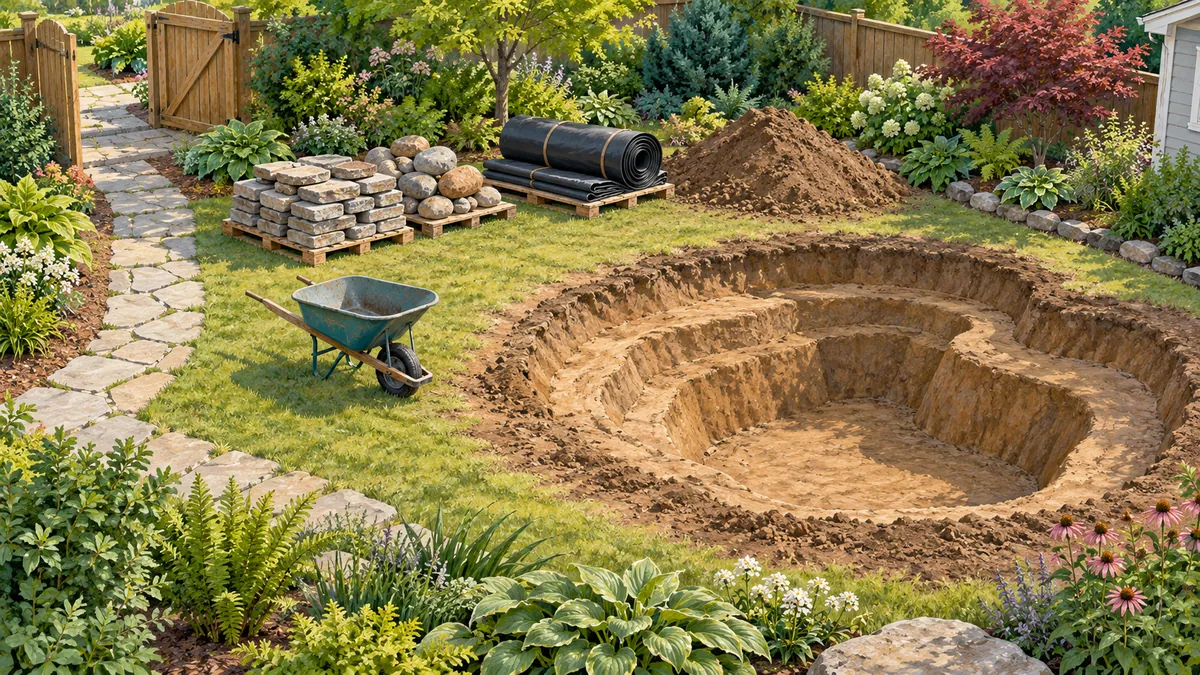
Measure the narrowest point from the street to the pond before choosing equipment or arranging stone delivery. Mark the areas that must stay open until the last machine task is finished. Record these on a one-page site logistics sheet, using dimensions and load charts for the selected equipment.
Measure the route before choosing equipment
Aquascape's contractor excavation article covers shelf planning, site levels and equipment access (Aquascape). Treat access as a design input. In a video from TEAM Aquascape, a builder on a first walk of a large backyard said to check machine access before settling the design, and that hand-only access would steer him away from tall waterfalls and very large boulders (TEAM Aquascape). That was one builder's judgment on one site, not a sizing rule.
| Check | Record | Illustrative entry |
|---|---|---|
| Narrowest opening | Clear width, gate posts, fence, meters | 60 in at side gate |
| Machine transport width | From the manufacturer's specification sheet | 48 in (hypothetical machine) |
| Overhead | Branches, wires, eaves | Blank until walked |
| Turns and slopes | Where the machine must pivot or climb | Blank until walked |
| Surfaces to cross | Lawn, pavers, septic or drain areas, irrigation lines | Blank until verified on site |
| Capacity and ground bearing | Manufacturer load chart and on-site check | Blank until equipment is selected |
Clearance is opening width minus machine width. With the illustrative 60 in opening and 48 in machine, that is 12 in total, or 6 in per side if the machine is centered. Whether that margin is acceptable is a decision for the operator and the equipment dealer. If no machine fits, price a hand-only version and plan the design around it.
Utilities come first
Contact the state 811 center, follow its waiting instructions and confirm utility responses; marks are approximate (Common Ground Alliance). Record the request status on the sheet, and do not fix the route or staging zones until responses are in.
Place delivery, spoil and staging zones
List each zone on a yard sketch before anything arrives:
- Stone drop point, ideally reachable without crossing the dig.
- Stone staging area, close to where the machine or crew will work.
- Spoil pile or truck loading spot.
- Machine parking spot overnight.
- Protected areas that nothing may cross.
In a sandbox demo from TEAM Aquascape, the rock staging spot was chosen before digging so it stayed clear of later steps, and the rock was staged in buckets (TEAM Aquascape). Your staging layout depends on your own yard.
Spoil arithmetic
Illustrative case: a box-shaped excavation 12 ft by 10 ft by 2 ft deep is 240 cubic feet, or about 8.9 cubic yards (240 divided by 27). A real pond with sloped sides and shelves will differ. Loose spoil also takes more space than the same soil in the ground, so get the haul or pile factor from your hauler or local experience, not from this example. Carry final quantities and costs from the takeoff in the pond-build estimate guide, and durations from the construction schedule guide.
Compare two excavation sequences
The comparison below is a planning aid built from the same yard, with 20 boulders as an illustrative count.
| Item | Sequence A: dig the full footprint first | Sequence B: hold back an access strip |
|---|---|---|
| Machine access for setting stone | May be cut off once the dig is complete | Strip stays as the machine's route |
| Stone delivery | Dropped at the curb | Dropped in the yard staging zone |
| Moves per boulder after delivery | 2 (curb to staging, staging to place) | 1 (staging to place) |
| Total moves for 20 boulders | 40 | 20 |
| Last digging task | None, dig is finished | Strip is dug after stone is set |
| Main risk | Stone is carried in by a longer route | The strip must be dug and finished later, and the work still has to fit the schedule |
Sequence B follows one build where a beach area was only partly dug because it was to be the excavator's main access for setting boulders, and the speaker said they would probably still dig it out (TEAM Aquascape). Whether a strip works on your job depends on the pond shape, soil and machine.
Record hold points before closing each route
| Route or zone | Finish before closing it |
|---|---|
| Back-yard route | Large plants that need machine delivery are in place |
| Access strip | All stone that needs machine placement is set |
| Stone drop point | All stone delivered and staged |
| Spoil zone | Spoil moved off site or placed where planned |
| Utility route | Locate responses confirmed and recorded |
| Equipment locations | Pump, valve and filter positions chosen with a path to reach them |
The back-yard row follows a build where large trees and shrubs were planted in the back area before the wetland and a waterfall area were dug, because digging those first would have cut off access to the back side (TEAM Aquascape). That is one project's order of work, so check your own list of what needs the machine.
Keep service equipment reachable
Add pumps, valves, skimmers and filters to the sketch as service points. Each needs a walking path and working space after the stone and plantings are in. Take clearances and isolation steps from the manufacturer's instructions for the equipment you select, and confirm them on site.
Put ground protection and restoration in scope
Decide who protects the route, who removes and reinstalls any fence section or gate, and who repairs lawn, irrigation and ruts. Choose protection after checking ground bearing on site, and do not assume a rating. Price restoration as its own line so it is not absorbed into excavation.
Sequence for the sheet
- Request utility locates and record the status.
- Measure the route and fill in the worksheet.
- Select equipment and get its dimensions and load chart.
- Sketch the delivery, staging, spoil and protected zones.
- Choose a sequence and mark any held-back strip.
- List hold points and who confirms each.
- Add ground protection and restoration to the scope.
- Run the final walk before mobilization.
To draw the pond footprint at the scale and depths you enter, use the PondTools app. It works from the dimensions you supply, so measure the yard first.