Site planning
Planning a lined pond on a sloping backyard
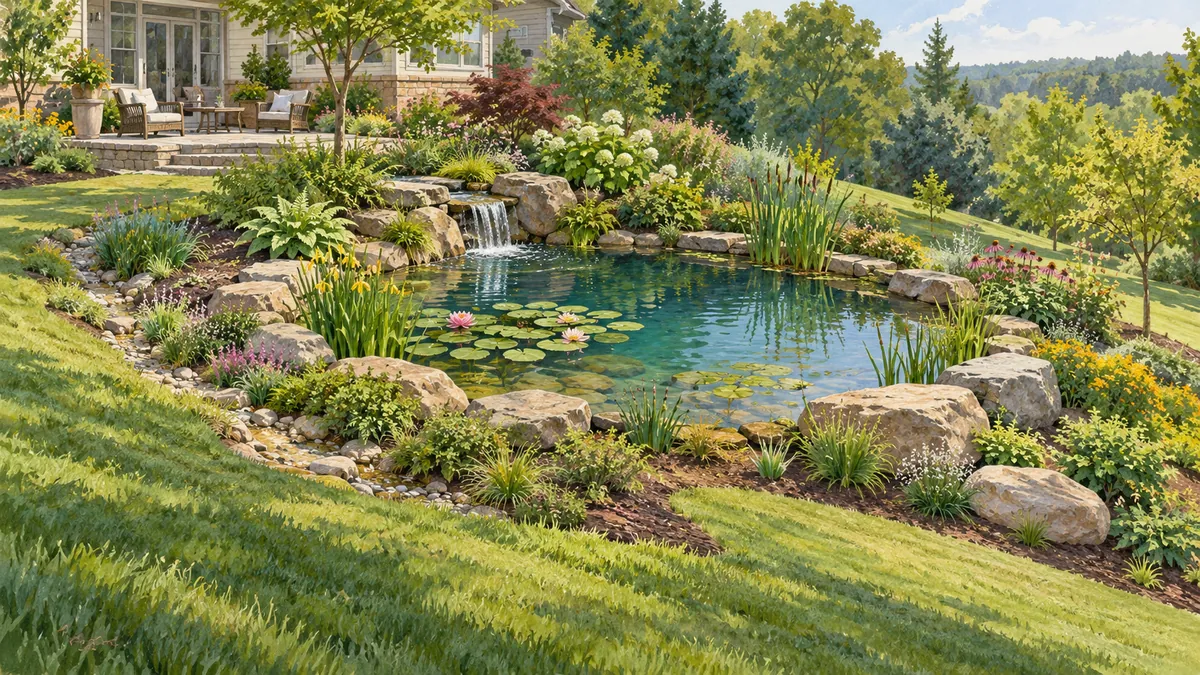
Measure ground levels across the pond footprint and choose one water surface height. Then calculate where the pond cuts into the hill and where the downhill edge needs building up. Retained fill and steep sites need structural and drainage review before the design is final. The numbers below are example inputs.
Before you measure
Aquascape's design article raises views from the house and seating areas and cautions against sites that collect runoff (Aquascape). Its excavation article covers shelf planning, site levels and equipment access (Aquascape). On a slope, note which side a machine could reach and which side spoil would leave from.
Call before marking or digging. The Common Ground Alliance says to contact the state 811 center, follow its waiting instructions and confirm utility responses; marks are approximate (Common Ground Alliance). That guidance covers US sites.
Worksheet: edge cut and fill from measured levels
Fix a benchmark, such as a stake. With a string line and line level, or a laser level, read the ground height at the uphill edge, the centre and the downhill edge of the footprint. Subtract the target water surface height from each ground reading. A positive result means the edge is cut into the hill. A negative result means the edge has to be built up above existing ground.
Illustrative inputs: the footprint is 10 ft across the slope, and the ground falls 2.5 ft over that distance. That is a 25 percent grade (2.5 ft ÷ 10 ft). Edge height above the water surface, such as coping or liner fold, is ignored here.
| Station | Ground reading | Option A: water surface 0.0 | Option B: water surface -0.5 |
|---|---|---|---|
| Uphill edge | +1.5 | 1.5 ft cut | 2.0 ft cut |
| Centre | +0.25 | 0.25 ft cut | 0.75 ft cut |
| Downhill edge | -1.0 | 1.0 ft built up | 0.5 ft built up |
Option B halves the built-up height on the downhill side, but it adds 0.5 ft of cut at every station and so produces more spoil. The table shows the trade only. It does not say either option is sound. The built-up downhill edge, and any wall that would hold it, is the part to put in front of a structural reviewer along with a drainage review.
Fitting streams and the berm to the grade
In a residential pond tour from TEAM Aquascape, the speaker praised a split stream where two streams run down an existing hillside and join below. The video gave no dimensions or build details, so use it as a layout idea only (TEAM Aquascape).
In another TEAM Aquascape video, the speaker described his firm's practice of leaving about 3 ft of flat soil behind a spillway rock before tapering, shown on one feature (TEAM Aquascape). Treat that as a dimension to test with a mockup, not a requirement.
On a slope, a flat pad has to be cut or built. If the ground behind the spillway rises at the 25 percent grade above, a level pad extending 3 ft uphill from its front edge puts the back of the cut 0.75 ft deep (3 ft × 0.25). Run that check for your own grade and pad length.
Can the excavated soil become the berm?
Possibly, but do not assume dug volume equals berm volume. Soil swells when dug, and placed fill settles. The swell factor below is an assumption for arithmetic, not a soil property. Measure your own site, and have soil suitability, compaction and settlement checked locally.
| Step | Calculation | Result |
|---|---|---|
| Pond excavation, in place | 12 × 10 × 2 ft | 240 cu ft (8.9 cu yd) |
| Berm, compacted | 10 × 6 × 1.5 ft average height | 90 cu ft (3.3 cu yd) |
| Leftover bank volume (assuming 1:1 bank to compacted volume) | 240 - 90 | 150 cu ft (5.6 cu yd) |
| Loose leftover to haul, assuming 1.25 swell | 150 × 1.25 | 187.5 cu ft (6.9 cu yd) |
| Difference between loose and bank volumes | 187.5 - 150 | 37.5 cu ft (1.4 cu yd) |
This table also assumes the berm uses 90 cu ft of in-place soil. If the berm needs extra for settlement, or if some dug soil is unsuitable, the leftover changes. Slope cut and fill from the worksheet above come on top of these figures. For your own pond dimensions, start with the volume calculator.
Liner and runoff checks
Elevate's PondGard EPDM guide requires a prepared support surface, suitable geotextile, tension-free panels and approved seaming materials (Elevate). That is system-specific, so read the instructions for the liner you buy. Fresh fill under a liner is a question to settle against whatever surface requirement applies. The liner calculator can size a liner from your entered dimensions.
EPA says runoff over roofs, streets and parking can collect pollutants and nutrients (US EPA). A lined ornamental pond is not a stormwater facility by default. This article gives no permit, discharge or pipe sizing guidance, so locate where water flows across the slope and keep that flow out of the pond area unless a drainage reviewer says otherwise.
Planning sequence
- Request utility marks through 811 and wait for the responses.
- Set a benchmark and record ground readings across the footprint and along the stream path.
- Compare two or three water surface heights in a cut and fill table like the one above.
- Walk the likely runoff path in rain and note where water enters the footprint.
- Estimate spoil with an assumed swell, then replace the assumption with a local figure.
- Take any built-up edge, retaining wall or steep section to structural and drainage review.
- Check the liner maker's instructions for surface preparation and seaming.
- Sketch the result in Studio by entering your scale and measured depths. Studio draws the geometry you enter and does not read levels from a photo.
Sources
- How to Design a Dream Pond for Your Customer
- How to Excavate a Pond the Right Way
- Before You Dig, Common Ground Alliance
- PondGard EPDM Design and Installation Guide, July 2025, Elevate
- Sources and Solutions: Stormwater, US EPA
- EPIC Dream Pond - What makes it the BEST Pond in Tennessee, TEAM Aquascape
- 3 Mistakes to Avoid BEFORE Building a Backyard Water Feature, TEAM Aquascape