Guide
Planning a Pond from Satellite Photography
Use a satellite view of your yard to draw a pond, set its ledges and estimate its volume. This guide takes you from choosing the image to reviewing the plan in 3D.
1. Find your yard
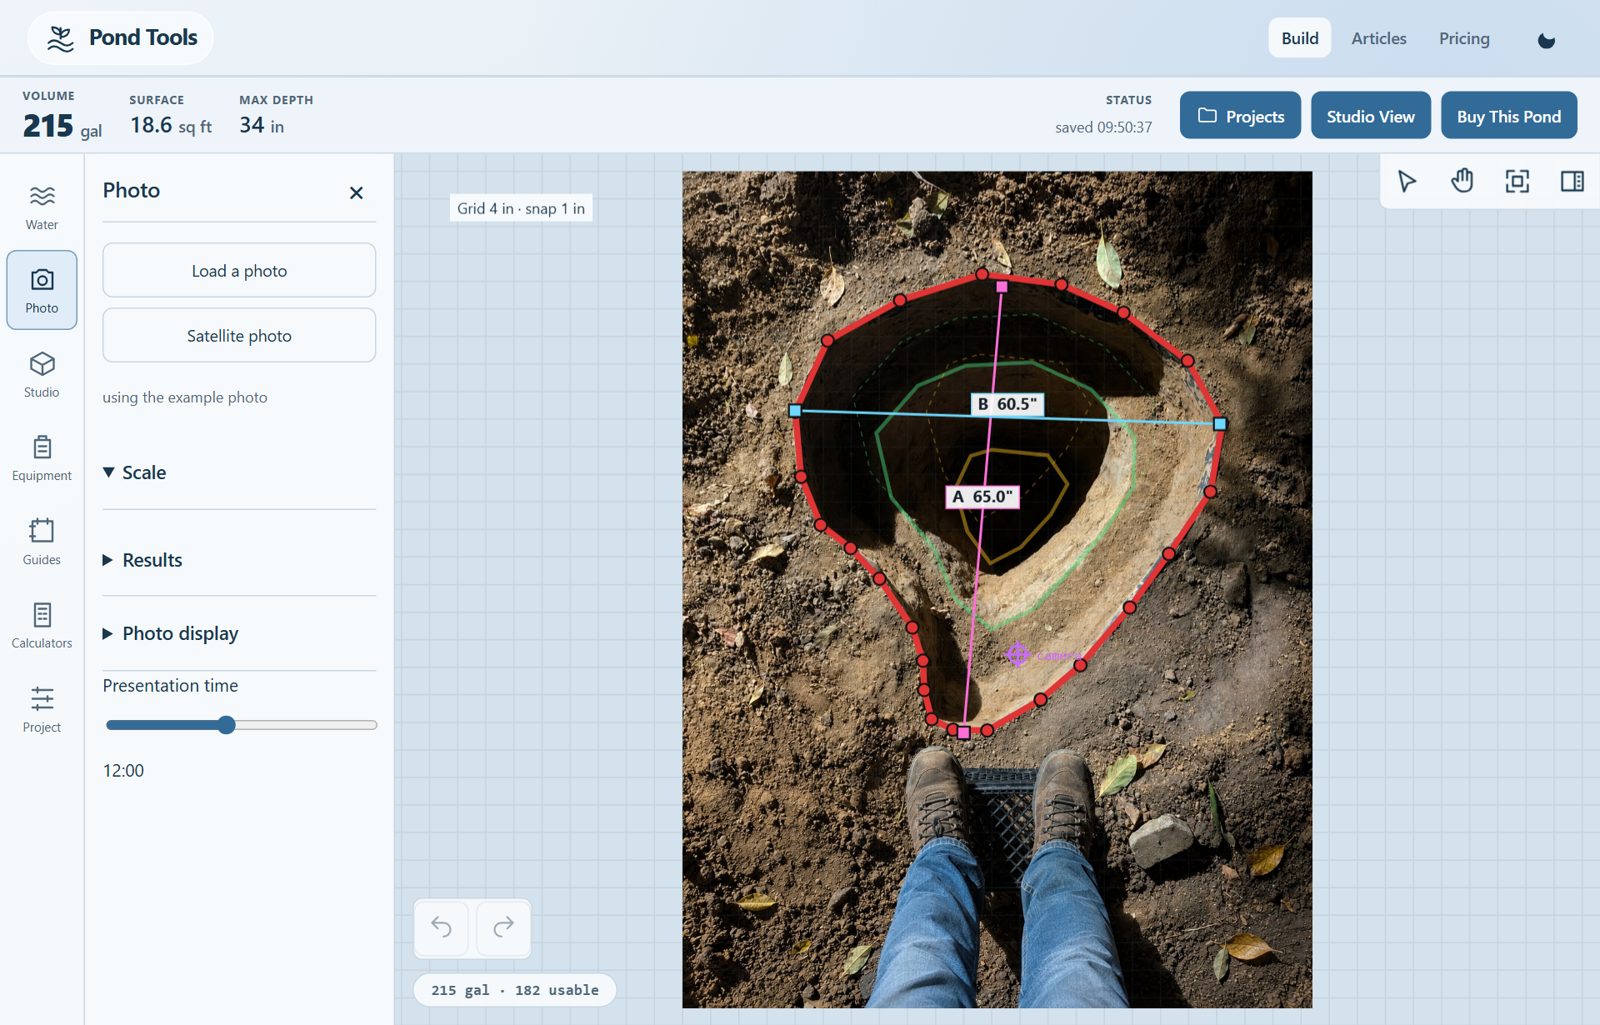
Open Measure a pond. In the details panel, choose Photo, then Use satellite. If the panel is closed, select Show details first.
Search your address and select a result. Pan and zoom the map until the frame includes the proposed pond and enough of the yard to judge its position.
2. Use the satellite image
Select Use without enhancement to load the image as it is. Enhance 4× is optional; it can make the image easier to view, but it does not provide a more accurate survey.
The app sets the image scale automatically. You do not need to enter the two measured spans used for an ordinary photograph. Check the proposed dimensions on the ground before digging, especially where trees or shadows hide the site.
3. Draw the pond outline
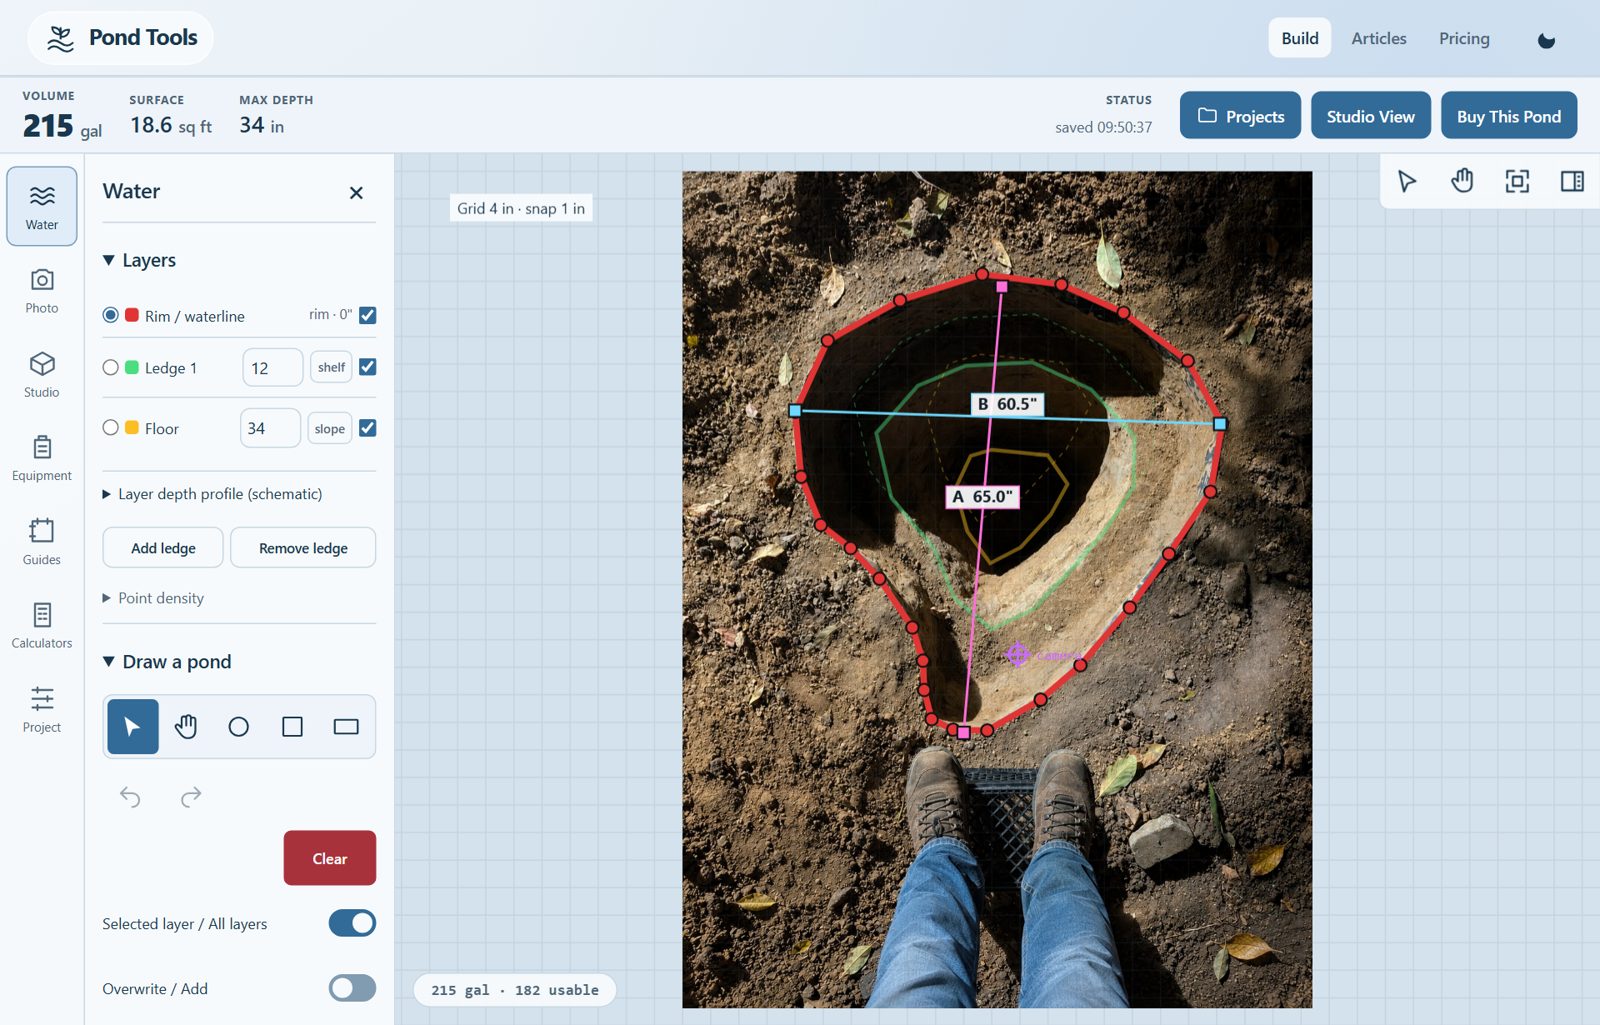
Under Layers & depths, select Rim / waterline. Choose the circle, square or rectangle tool under Draw a pond, then drag across the image to draw the outline.
Leave Overwrite / Add on Overwrite to replace the selected outline. Switch to Add to join an overlapping shape, such as a second circle for a wider, two-lobed pond.
Use the arrow tool, Select / drag, to move individual points or drag inside the selected outline to reposition it. Undo reverses a drawing change. Clear removes all pond outlines, so use it only when you want to start again.
4. Shape the first ledge and floor
Select Ledge 1 in the layer list and reshape its outline inside the rim. The space between these outlines determines the ledge width. Then select Floor and shape the deepest area inside the ledge.
Keep the outlines nested: rim outside, ledges inside it, and floor at the centre of the deeper area. Leave enough ledge width for the planting baskets or stone you intend to use.
5. Add more ledges
Select Add ledge for each additional level. The app inserts a new outline between the innermost existing ledge and the floor, with a starting depth halfway between them.
Select the new ledge, reshape it and enter its intended depth. Repeat for another level. To delete one, select that ledge and choose Remove ledge.
6. Set each depth and ledge type
Enter a depth in the number field beside each ledge and the floor. Values are in inches below the rim, which stays at zero. For example, ledges at 12 and 24 inches with a floor at 36 inches describe three levels below the same waterline. Enter 24 for the second ledge, not the 12-inch drop from the first.
The small button beside the depth switches between shelf and slope. Shelf models a vertical drop followed by a flat shelf between the outlines. Slope models a gradual transition from the preceding outline to this one. This controls the pond geometry, not a stone or planting material.
Set the depths in increasing order toward the floor. Change each type to match the excavation you are planning; the choice affects the volume estimate.
7. Review the plan
Check Volume, Surface and Max depth across the top of the workspace. Open 3D View to inspect the pond shape and the transitions between levels. Return to the drawing to adjust any ledge that looks too narrow or deep.
The volume is a planning estimate from your outlines and depths. Rock, gravel and other materials will reduce the water the finished pond holds.
8. Save a copy
Open Export in the details panel and select Save state to download the plan. Use Load state to reopen that file later. The app also autosaves in this browser; the downloaded file gives you a separate copy to keep.
For a printable version, choose Get a printable summary. You can also use the in-app calculators to work through liner size, pump flow and other equipment estimates.