Waterfall troubleshooting
Why waterfall water goes under the rocks, and what to check
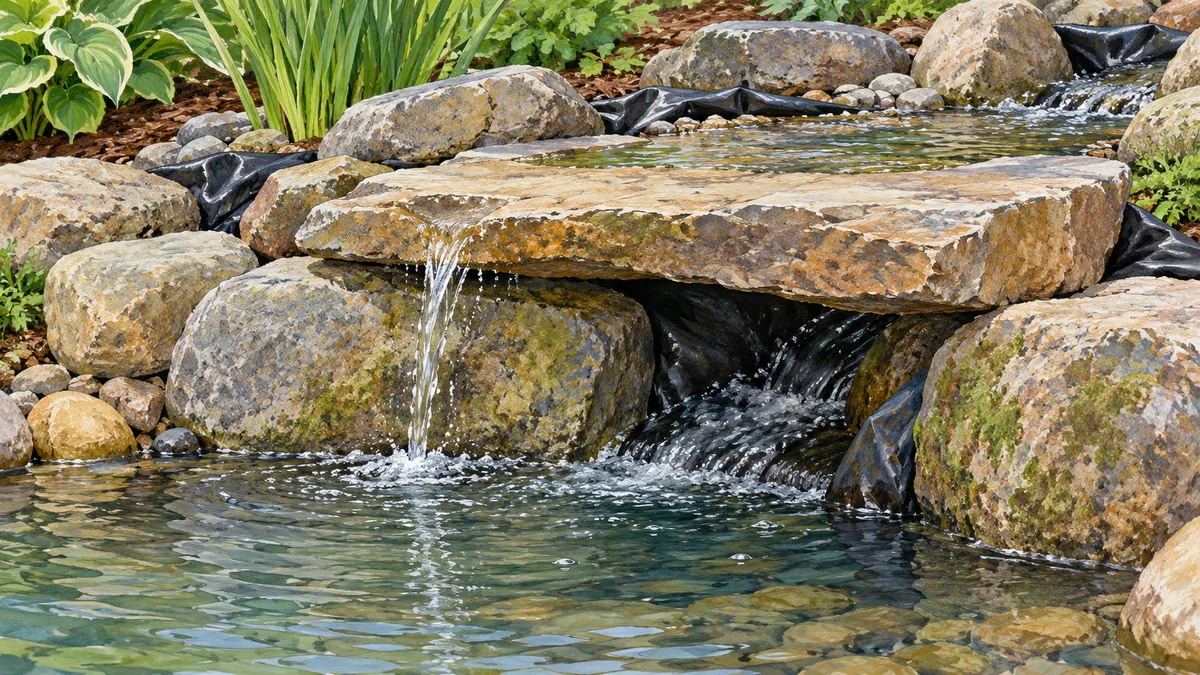
When the pump runs but little water crosses the spill stone, first decide which of four problems you have: too little water leaving the pump, water split unevenly between outlets, water slipping through or under the stones, or water leaving the liner system. Pump selection, plumbing restrictions and branch settings can all affect delivered flow. Check them before replacing the pump.
Sort the symptom before touching anything
| What you see | Most likely category | Next check |
|---|---|---|
| Weak flow at every outlet and at the spill | Delivery or restriction | Measure actual flow, then inspect intake, valves and tubing |
| Water disappears beneath one spill stone, or you hear it running behind the stones | Bypass through gaps or under the stone | Watch the running water and trace where it leaves the surface path |
| One branch is strong and another is weak | Uneven distribution | Adjust the valves with the system running |
| Water level keeps falling, or ground outside the liner stays wet | Possible leakage, not routing | Treat it as a leak investigation, not a flow-tuning job |
Step 1: measure delivered flow
Guessing from the look of the waterfall mixes up delivery with routing. Catch the flow at an accessible discharge point in a container of known volume, time it, and convert. The numbers below are illustrative inputs only.
| Item | Value |
|---|---|
| Container volume (example) | 10 gal |
| Fill time (example) | 40 s |
| Flow per second | 10 gal / 40 s = 0.25 gal/s |
| Flow per minute | 0.25 x 60 = 15 gal/min |
| Flow per hour | 15 x 60 = 900 gal/h |
| Manufacturer curve reading at your head (hypothetical) | 1,500 gal/h |
| Measured as a share of the curve | 900 / 1,500 = 60% |
| Shortfall | 1,500 - 900 = 600 gal/h |
The curve value must come from your own pump's chart at your own total head. Do not borrow a gallons-per-hour rule from a video. The pump calculator can help you organize the head and flow inputs before you read the chart.
If the measured flow is far below the curve, look for a clogged intake, a partly closed valve or a kinked line before replacing anything. If it is close to the curve and the spill is still thin, you may have a real sizing question, or the water may be going somewhere other than over the stone.
Step 2: watch where the water bypasses the spill
With the pump running, watch the water travel from the stream bed or pool above the spill stone. In one TEAM Aquascape project, the crew sealed joints between waterfall rocks with expanding foam so water was pushed over the front of the rock instead of through cracks, and the speaker also credited it for the waterfall sound. The area was to be filled with river rocks afterward (TEAM Aquascape, Giving Back part 2). That is one crew's approach on one build, not a rule for yours.
Aquascape describes its waterfall foam as filling gaps to direct water over the rocks (product page). Read the exact label of whatever foam you use for application method, cure and compatibility.
Stone shape matters too. While choosing boulders for a pondless waterfall, TEAM Aquascape looked for a stone with a natural high spot and a natural low spot, and planned to stand one large rock upright as the waterfall stone (MASSIVE BOULDER SETTING, Part 1). A stone's natural low spot is a reasonable place to expect the flow to concentrate, so check whether your water crosses the lip there or finds a path beside it.
A rock placed mid-fall to split the flow was a proposed idea ("we might") for one biofalls project (3-Foot Deep POND Wrap Up, Part 3). Treat it as a styling option for later. Add it only after you understand where water goes without it.
Step 3: keep flow shaping separate from the liner
Routing material and the water-retaining liner do different jobs. The Signature Series BioFalls instructions say water can seep through foam when the pumps are off (BioFalls manual). So do not count foam as a watertight layer, and do not rely on it as structural support for a boulder.
Note the water level with the pump off and again after it has run for a while. A change between the two is a clue about where to test next. It does not prove which fault you have. If the ground outside the liner is wet or the level keeps dropping, switch to a leak investigation. Splash landing beyond the liner edge is worth checking in the same pass.
For general lining, rock placement and equipment order in a stream build, see the Pond Guy stream guide.
Step 4: tune reachable valves with the system running
On a TEAM Aquascape fountain job with basalt column features, one feature ran like a geyser and another barely flowed after startup. The crew closed one valve slightly and opened the other a little more (A TRIO of Fountain Water Features, Part 2). Those were fountain features, but the same logic applies to branched waterfall lines.
Valves change resistance and distribute flow between branches. A valve adjustment can also change the pump's operating point, so recheck every outlet afterward. Make small turns, wait for the flow to settle, and have a second person watch the outlet while you turn the valve. If the valve is buried or blocked by stone, plan access before the rocks go in.
Step 5: recheck splash, shutdown and restart
- Run the system and confirm water reaches the spill lip and lands inside the liner edge.
- Shut the pump off and watch where water continues to drain from the stones.
- Restart and confirm flow returns across the spill before you judge it.
- Repeat your timed catch to see whether delivered flow changed.
- Only if delivery still sits near the curve and the routing is sound, reopen the sizing question.
Sources
- 20-Foot Healing POND - TEAM Aquascape Giving Back part 2
- 3-Foot Deep POND Wrap Up and REVEAL - Part 3
- MASSIVE BOULDER SETTING For Texas Recreation Pond - Part 1
- A TRIO of Fountain Water Features REVEAL - Part 2
- How to Build a Backyard Stream
- Professional Black Waterfall Foam
- Signature Series BioFalls instructions