Site planning
Where to put a backyard pond and waterfall
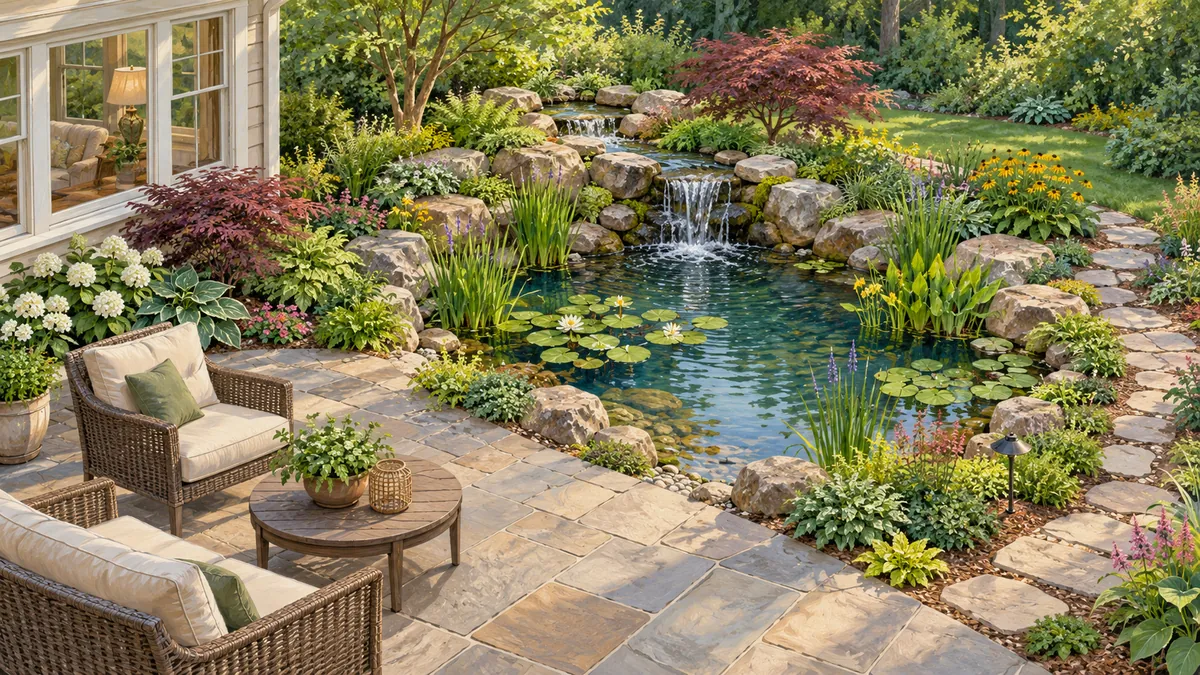
Compare pond sites from the windows and seating areas you use. Each site also needs located utilities, access for construction and service, and drainage that keeps outside water out of the pond. The worksheet compares those requirements before digging.
Step 1: Record the views people will use
List every place someone will look at the water from: kitchen window, family room, patio chairs, a fire pit. Note how often each is used. Then sketch each candidate outline on one site plan so the views can be compared against the same yard.
Three TEAM Aquascape project videos show how this played out on particular jobs, and none of them sets a rule for your yard. In one, the main viewing area was a fire pit seating area about 22 feet wide facing back at the house, and several waterfalls were oriented toward it (TEAM Aquascape). In another, the designer chose the side visible from the family room and kitchen and near the patio, while the other side was seen only from a three-season room and was cut off from the patio (TEAM Aquascape). In a third, a north Chicago suburb backyard, the shape was first laid out with a garden hose and the main water sat near the patio seating (TEAM Aquascape).
Aquascape's design article points to views from the home and seating areas, and cautions against spots that collect outside runoff (Aquascape). The rest of this page turns that into a side-by-side check.
Step 2: Compare measured levels
Levels need a measuring tool or a survey. A photo cannot give them. Pick one fixed reference, such as the patio door threshold, call it 100.0 ft, and measure each candidate's proposed edge against it. The numbers below are illustrative, not from a real yard.
| Item | Site A (near patio) | Site B (far corner) |
|---|---|---|
| Ground at proposed pond edge | 99.2 ft | 97.8 ft |
| Drop from patio reference | 0.8 ft | 2.2 ft |
Site B sits 2.2 - 0.8 = 1.4 ft lower than Site A. That difference changes what you see from the patio and where rainwater might travel across the yard. The number alone does not say whether B is wet or dry, so it feeds the drainage check in step 4.
Step 3: Reserve access for equipment and service
Walk the route from the street or gate to each outline with the tools you plan to use and write down the narrowest point. Add three more notes per site:
- Where excavated soil and stone will be staged.
- Where the pump, skimmer or filter will sit and how someone reaches the lid or access point later.
- What overhead lines, fences, steps or slopes sit on the route.
Enter the actual width of your equipment and compare it with each narrow point. A site that looks perfect from the kitchen but cannot be reached without removing a fence carries a cost that belongs in the comparison.
Step 4: Check drainage, utilities and growing plants
Utilities. In the US, contact the state 811 center before digging, follow its waiting instructions, confirm responses. Marks are approximate (Common Ground Alliance). Do not infer buried services from a photo. After marks appear, transfer them to the site plan and treat them as approximate when you place the outline. Setback and permit rules vary by jurisdiction, so confirm them locally for your address.
Runoff. Roof and pavement runoff can carry pollutants and nutrients; a lined pond is not automatically stormwater treatment (US EPA). On the plan, draw arrows for where roof downspouts, the patio surface and slopes send water during a storm. Watch the yard in a real rain if you can. Mark any outline that sits in the path of those arrows.
Growth. Mark where trees, shrubs and tall plantings will spread over several seasons, using the mature size from the plant label or nursery. Then ask whether growth will block the view that made the site attractive, or shade or drop leaves onto the water. This is a judgment about your plant list, not a fixed distance.
Step 5: Score the two sites
Give each criterion a weight from 1 to 3 for how much it matters on this property, and each site a score from 0 to 5. Multiply, then add. The scores below are illustrative.
| Criterion | Weight | Site A score | Site B score | A weighted | B weighted |
|---|---|---|---|---|---|
| Views from used locations | 3 | 4 | 5 | 12 | 15 |
| Levels | 2 | 3 | 2 | 6 | 4 |
| Access and service | 2 | 4 | 2 | 8 | 4 |
| Drainage | 3 | 4 | 2 | 12 | 6 |
| Future plant growth | 1 | 3 | 4 | 3 | 4 |
| Total | 11 | 41 | 33 |
Site A totals 12 + 6 + 8 + 12 + 3 = 41 and Site B totals 15 + 4 + 4 + 6 + 4 = 33. The weights sum to 11, so the maximum is 11 x 5 = 55. Site B wins on view and plants but loses on access and drainage, so A is the better choice here. If drainage or utilities fail outright at a site, drop it instead of letting a strong view score cover the problem.
Practical sequence for the first visit
- Stand at each viewing point and note which candidate is visible and how much of the day it is used.
- Mark both outlines on the yard with stakes or a hose, then photograph them from each viewing point for your records.
- Measure levels against one fixed reference and write them down with units.
- Walk the equipment route and record the narrowest point for each site.
- Start the 811 request, and record local setback and permit questions to confirm.
- Note runoff paths and mature plant spread on the plan.
- Fill in the scoring table with the owner, then write one sentence naming the chosen site and what it costs, for example "A chosen; view from the family room is partial."
Where PondTools fits
Once a site is chosen, you can build both outlines at your entered scale and depths in Studio, which shows geometry you create rather than reconstructing a yard from a photo, or lay out the yard in the app. Measured levels and utility marks still come from the site, not from the software.
Sources
- How to Design a Dream Pond for Your Customer
- Before You Dig, Common Ground Alliance
- Sources and Solutions: Stormwater, US EPA
- Pond With Vanishing Edge Flows Into Pondless Waterfall! (TEAM Aquascape)
- $25K POND Done Right with Stone Bridge (TEAM Aquascape)
- CoralFish12g *BACKYARD POND* Built in One Day! (TEAM Aquascape)