Your first pond
Edit points, expand a pond outline and compare the resulting Studio views.
Read the transcript
Pond Tools. Plan your pond before you dig. Start with an editable pond. Drag a point along the waterline to change the shape. The volume estimate updates with your edit. Open Studio to inspect the changed outline. Rotate the view to see how the pond and its shelves fit together. Then return to the plan. Select the waterline and turn on Add. Use the freehand tool to draw an overlapping area. The new outline extends the pond. Here, its volume estimates two thousand, three hundred five U.S. gallons. Open Studio again to inspect the added area. The waterline has grown, while the inner shelves keep their existing shapes. Now change the floor from thirty six to forty two inches. The volume rises to two thousand, four hundred seventy six gallons. Check the deeper pond in Studio. Volume is an estimate based on your dimensions and depths. Plan before you dig, at Pond Tools dot com.
The video edits a starter pond with point adjustments and a freehand expansion, then checks the matching geometry in Studio. Follow the steps below to start your own project.
Start a project
Open Build a Pond and choose Draw a pond, From a photo or From satellite. Draw a pond starts with an editable example. For an empty project, open Projects and choose New blank pond. Use Rename beside a saved project to give it a distinct name.
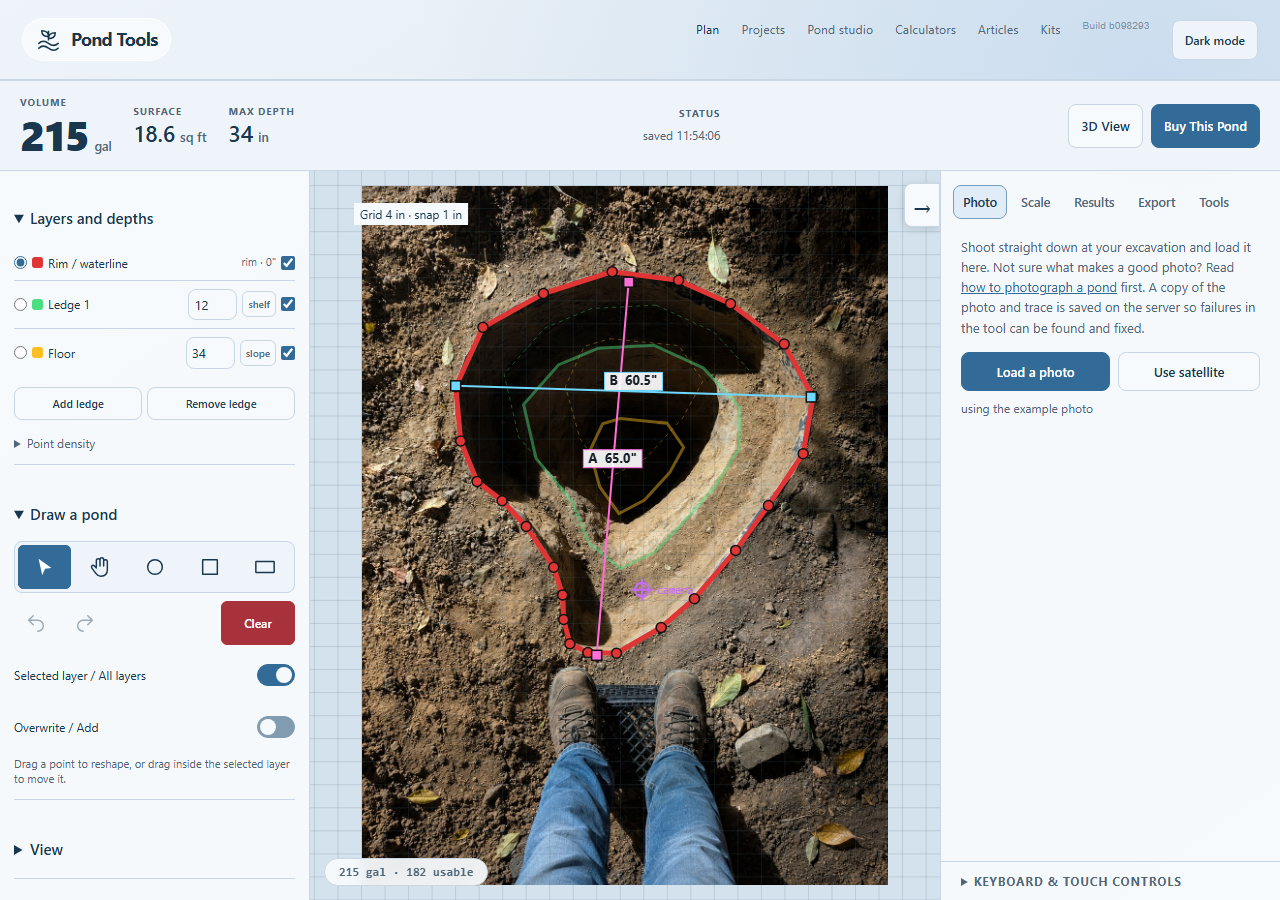
For an existing excavation, open Photo and choose Load a photo. Use a photo taken as close to straight down as you can. You will need measurements from the site to set its scale.
Set the size
For a photo, follow Set the scale before relying on the volume. The example pond's measurements do not describe your site.
On a blank canvas, draw an outline first. Then open Shape and measurements, enter Width (ft) and Length (ft), and choose Apply dimensions. Leave Keep proportions unchecked if you want to set both dimensions independently.
Draw the shoreline
Select the rim or waterline in Layers and depths. Under Draw a pond, choose a circle, square or rectangle and drag across the canvas to draw it. Overwrite replaces the selected outline. Add combines an overlapping shape with it.
Choose the arrow tool to adjust the outline. Drag its points to reshape the pond.
Add depth
Check the floor depth in Layers and depths. All layer depths are measured down from the waterline.
To add a shelf, select the layer above it and open Shape and measurements, then Constant-width shelf. Enter its width and depth, then choose Create inside selected layer. The new shelf must fit around any deeper layers. Shelf guide
Check the result
Read the volume, surface area and maximum depth at the top. Check the scale, outline and depths if the result looks wrong. Zooming should change only the view.
Choose Studio View to inspect the pond's appearance. Choose Back to Plan to continue editing. A convincing preview does not verify the excavation measurements.
Keep a copy
Open Projects and choose Export beside your pond. Keep the downloaded project file somewhere separate from the browser or app.
When the measurements are ready, choose Buy This Pond and review the supplies.